Have you ever considered coloring your hair at home, but didn’t know where to start or how to keep it from looking like you murdered paints and dyes all over your house? We can help!
We racked our brains and put together a list of the most helpful tips we know of (that some of us personally use!) that can successfully guide you through this colorful nightmare and leave you with a salon perfect look at half the cost (and time consumption)!
Model is gougers Amelie Axelson
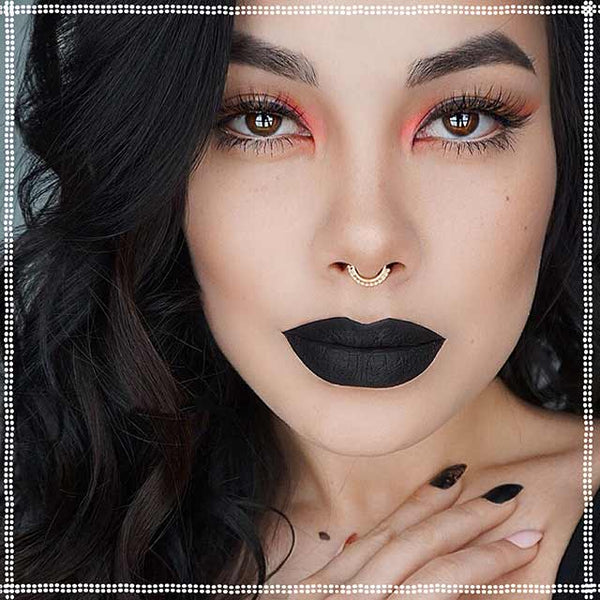
Model in main image luna_celeste87
- Gather ALL your supplies!
The fastest way to drip and smear hair dye in the worst places is to do a 100-meter dash around your house in search of supplies you forgot to grab before rolling in the hay-ir color.
Besides the color you plan to use, your bleach, if you even THINK you might need it, and the oldest, ugliest shirt you own, we suggest having: powder-free latex gloves, a tough, all-purpose household cleaner to remove any inevitable dribbles immediately, old towels (plural; one or two is NEVER enough), brush(es) AND comb(s), a good, heavy conditioner to use while rinsing out your new color, an old kitchen timer or wristwatch (hair dye CAN ruin your phone, or help you do it while you frantically try to clean off a glob of dye), several hair clips in all shapes and sizes, baby wipes (to get dye off skin ASAP), and makeup.
Yes, guys too.
Many people try using petroleum jelly or lotions where their foreheads meet their hairlines.
However, if you get too close, you now have it all over your roots there. If you don’t get close enough, you stain your skin OR miss the hairline completely.
With your hair pulled BACK, apply a thick foundation to your face, let it dry, and dust LIGHTLY with compact or baby powder.
The makeup acts like jelly or lotion would, and leaves less room for error.
- Adequately prepare your hair for the pending abuse!
Your hair takes damage each time you dye it, use styling gels or sprays, apply heat, etc.
However, you can reduce the amount of permanent damage that is done.
If you know a week or so ahead of time that you want to dye your hair, use conditioners, oily styling spritzes, or even vegetable oil as much as possible every single day.
Rinse out the greasy stuff before bed, of course, but only wash your hair with shampoo once or twice throughout that week.
Put the color or bleach in your hair while it’s RELATIVELY dirty (waiting 24-48 hours since your last shampoo should be enough time for your scalp to rebuild the natural oils that will shield your hair from the harsh chemicals… DO NOT color clean hair!).
Make sure your hair is COMPLETELY dry before applying your dye/bleach.
Even dampness from a little sweat can ruin your look, and then you must assault your poor hair twice! When in doubt, turn your hair dryer on the low, cool setting, and blow dry for about 5 minutes.
Brush out any tangles to avoid extra split ends (and a massive headache), and triple check your supply and pre-color checklists.
Model is stunning Kiera Rose
- Choose your new look with care!
REMEMBER: the look you love may NOT love you!
Yes, of course it’s hair, and hair can be recolored, bleached twice (or more) and even cut and grown out again.
However, even the healthiest, strongest hair has its breaking point (pun intended).
Sure, a little frizz is funny at first, but if your hair is too severely damaged by careless DIY coloring and bleaching, that frizz starts snapping like hay, and the hair that grows in is brittle and wispy, sometimes for months!
So, put some thought into your new “do.” Start by taking your favorite selfies and trying out different colors on the photos with a nifty smartphone app.
It should tell you right away which colors to add to the “maybe” pile, and which should never graze a hair on your head.
Narrow down your choices, and ask your friends and family for advice. If they are all 200% against you dying your hair, create a poll on social media.
Even total strangers love random polls (as long as you don’t harangue them with it via DM’s), and since they don’t know you, they won’t be afraid to be honest!
While you wait for the results, do some homework!
Hit the internet and find pics of people with skin tones, face shapes, eye colors, and taste in makeup that are similar to your own.
Take careful note of the choices you see that make you burst out laughing, because someone else will be laughing at YOU if you make a similar mistake!
Also, think before you go 50 shades of drastic! Changing 10 shades overnight, or adding 15 different ones, will give your reflection a heart attack, and make any mistakes even harder to fix.
- Be patient and pace yourself!
We know how much you want to get dying out of the way and start showing off your awesome hair, but if you rush and get sloppy, it WILL show!
Once again, do some research. If you want tri-toned hair, complex highlights, or chunks strategically placed so that, when you style your hair a certain way, your hair has a different look, it takes time!
If this look is one you are dead-set on accomplishing, be prepared to spend days, or even a couple of weeks, completing each phase of the new look.
If you use bleach, and your hair is orange or brassy, and you proceed with the rest of your color job, that hue WILL alter the entire look. If you miss a spot with the bleach because you rushed with your base color, it is always noticeable.
Then, it’ll take even longer to finish your hair, and by then you’re too frustrated to care! A good rule of thumb is: you can ALWAYS go darker; you can’t ALWAYS go lighter (without more bleach; see above for bleach whoopsies).
Also, if you don’t want red streaking your blue, do your red streaks one day, and your blue ones the next! The more time and care you put into your new dye job, the more it will pay off.
Model is wild queen Psychara
- If you can’t stand the heat, get outta the DIY Home Salon.
The elaborate hair dryers most salons have aren’t just for drying beehive hairstyles!
Heat, as we know, helps set bleach and hair dye.
What good do those dryers do us at home?
No one has one of those lying around in the shed out back! No, but if you have a hand-held blow dryer and either a highlighting cap with pre-cut holes through which to pull strands of hair, a shower cap, or even a plastic grocery bag, you can replicate the “hood” adorning the salon dryers and apply your own heat, home-style!
To set the base color, drape the cap or bag over your dye-covered hair.
Start your dryer on low heat, and wave it slowly around your entire head.
Be prepared; your arms will definitely get tired, especially if your selected hair color is lighter than the color you’re covering, or your hair is extremely thick.
You can gradually increase to high heat, but the fumes combined with the heat might make you a little lightheaded and dizzy, so use caution!
If you wish to heat foiled sections of your hair, you can forego the cap (unless the pieces get too unruly and you need to confine them).
Hold the dryer a few inches from the foil and move your hand slowly back and forth, heating the wrapped hair pieces as evenly as possible.
You can take gentle peeks at your color every 5-10 minutes to see how it’s developing, but without a professional present, we do NOT recommend you use heat for more than 30 minutes per coloring session.

