Painless, Costless, and Timeless Makeup Look that is 100% Uniquely YOU!
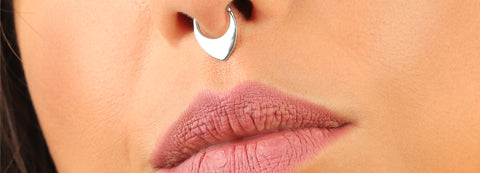
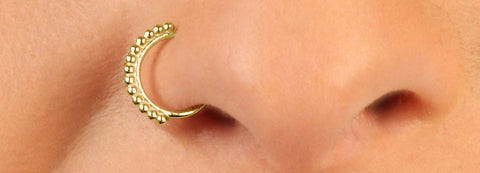
Silver Septum Jewelry | Neptune's Child

If you’re like us, you have little time to go to makeup counters and allow salespeople to try out all the newest styles and colors of makeup to find the “right shade” for us or listen to all the tired pitches while they try to sell something that just isn’t quite what we’re looking for.
However, also like us, you need a new look that says, “I am ME, and I LOVE how I look!”
That’s why we have some ideas to try before you spend precious days off work exhausting yourself with these methods, only to go home empty-handed (and wallet drained)! Take a look, and see what you can do!
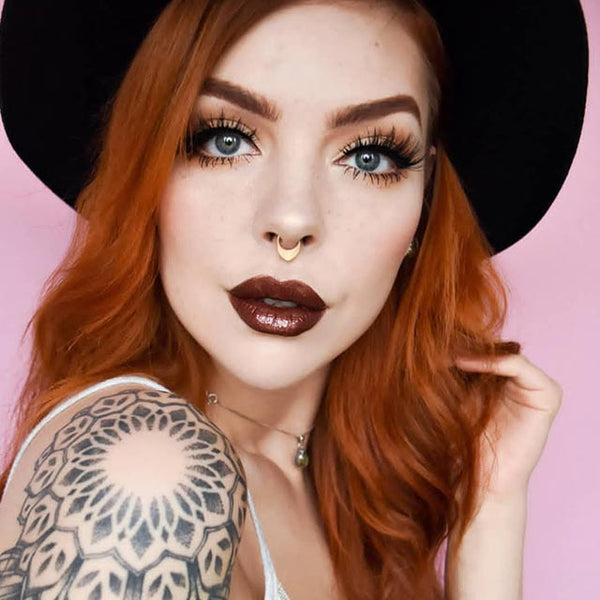
Model is queen Obsidiankerttu
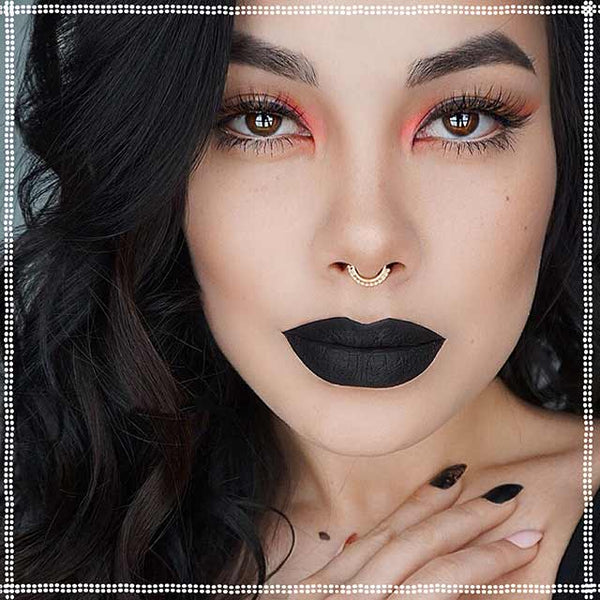
Model in main picture is the brilliant, super talented Kika Von Macabre
-
How to blend the perfect foundation shade.
Without the help of a makeup professional, this can be tricky, even with the best advice and tips on hand! Hopefully some of what we’ve learned will be useful!
For starters, NEVER underestimate the importance of your powder foundation, even if the liquid/crème you have says no powder necessary.
If you apply your foundation and it is still a little too orange/pink for your skin, try adding a thin layer of translucent or ivory powder (or the closest in color to Casper’s tush) once the liquid is completely dry.
Apply the powder with a large makeup brush, so you can dust off any particles that stick to your eyebrows or clump up around your temples, beneath your cheekbones, etc. OR, if these powders are still not light enough, try plain baby powder!
It doesn’t get much lighter than that! For darker skin, try blending some lighter brown eyeshadow in with your powder.
We suggest experimenting with your blends in separate containers (such as old, empty makeup compacts, or recycle some old plastic lids) until you find your perfect match. Try your combinations with and without your normal liquid or crème-based foundation.
You might find that your powder mixes perform better without them!
-
How to apply makeup around new facial piercings.
The quickest way to irritate a new facial piercing is to accidentally graze it with makeup-covered fingers.
It often happens when we don’t realize it; when we think we’ve applied our makeup with the greatest of care!
Here’s a trick we’ve found that works like magic!
Let’s assume that your piercing is still too new to remove.
Tear off a piece of a brand-new makeup sponge, or remove the soft tip from one end of a fresh, clean eyeshadow applicator. Now, dab a small drop of unscented lotion, bacitracin cream, or whatever other jelly-type substance that YOUR ARTIST dubbed safe throughout the healing of your piercing, onto the sponge/applicator.
Gently press it against the skin AROUND your new jewelry, and allow the gel to act as a temporary adhesive. Then, apply your make up around the makeshift bandage FIRST (use another eyeshadow applicator to contour foundation and powder around the piercing, and let it dry completely).
Take your time applying the rest of your makeup normally, and be sure that everything is dry and set before removing your spongy band aid.
DO NOT do any touch-ups once the bandage has been removed, and be sure that you clean the edges of your piercing with the recommended astringent, so none of the gel lingers.
(We recommend using another eyeshadow applicator for this cleaning, so you don’t smudge your makeup and feel tempted to fix it, AND to ensure that the piercing is as clean as it can be).
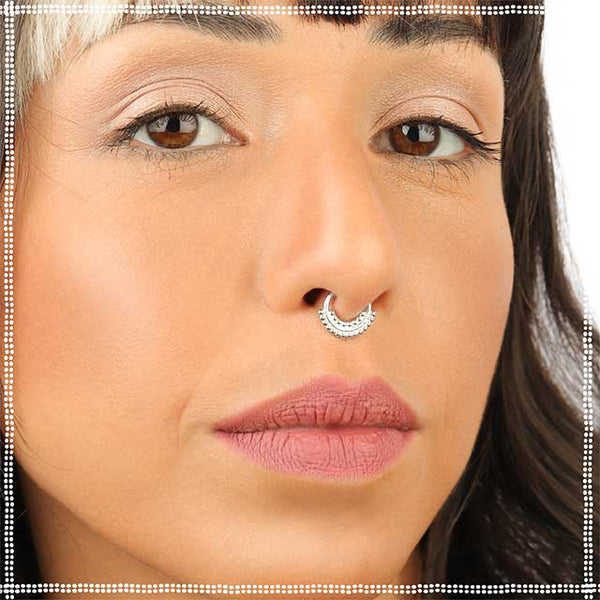
Model is breathtaking, super talented Beatriz Kiddo Mariano Photography
-
How to apply lipstick the proper way.
We aren’t implying that you have no idea how to put on your own makeup!
We just learned some things that caught us by surprise, especially when it comes to lipstick application and appearance, and we wanted to enlighten you ladies, as well!
For those of you who prefer matte colors to tons of gloss and shine, here’s a reminder. While the matte shade DO tend to fade more slowly and require less upkeep, they also leave your lips looking dry and unhealthy.
Try applying a thin coat of organic chap stick BEFORE putting on the lipstick. You can also use a light, non-sticky lip gloss, but be SURE that whatever you use does not use oil-based ingredients, so your lipstick doesn’t smudge, wipe, or wear off too soon.
If you have trouble keeping to the contours of your mouth shape, use a lipliner that matches your natural lip color, NOT your lipstick shade. (This is a tip we didn’t know, but now we can’t live without it)! To get a bright, glossy sheen to your lipstick, anything with “Wet” in the name will do the trick.
However, as with the matte lipstick tip, be sure you aren’t using anything with a lot of oils. They start out fierce, then fade and smear into “WTF was I thinking?”
Remember, no matter which look you prefer, blotting is your best friend! Removing as much excess lipstick as possible beforehand reduces the wear-and-smear throughout the day/night!
-
Brows of which you can be proud!
We’re gonna give it to you straight! If there is truly a way to groom your eyebrows to perfection that is both quick and painless, we haven’t found it! (If any of you know of a way that is, PLEASE share with the class)!
What we do have is a way that will make it APPEAR as if those gorgeous brows were gained with little effort and pain!
NEVER wax or pluck your eyebrows the same day on which you need your brows done. ALWAYS allow yourself 24 hours OR MORE!
Since you can’t always see missed hairs until the swelling is gone, we suggest starting your brow grooming at least a week in advance.
Pluck the hairs IN THE DIRECTION they grow. Otherwise, they bleed and leave tiny scabs. If you wax, pull off the strip in the same direction.
Remove as many of the hairs as you can see while your brows are still irritated. Allow 24+ hours for the swelling to subside. Use ice packs, tea bags, OTC anti-inflammatory meds, or any choice home remedy to speed up the process.
Periodically check for missed hairs BEFORE all the swelling goes down to reduce the number of times you must subject your brows to this torture.
Once you are satisfied, keep your brows neat by combing them with an eyebrow brush, and comb in some clear chap stick or lip gloss to help the brow hairs cling to each other. If you still see a stray hair and you’re out of time, DON’T TOUCH THOSE TWEEZERS! USE EYESHADOW to cover it!
Model is foxy Tiana Nox
-
How to find your IDEAL makeup look.
Have you ever heard the saying “Practice makes perfect?” For some things, that holds 100% true, and that includes your ideal makeover look!
Dig up every single bit of makeup you own (feel free to go out and buy a few new things to reward yourself for being so YOU), and be SURE to bring any makeup remover or baby wipes with you.
Spread it all out in front of you, and allow it to overwhelm you for a moment. Then, take a deep breath, prepare for a day of making over, and dive in!
DO NOT toss out any old makeup containers or compacts; clean them up and use them for mixing-and-matching!
Start by making blends of your liquid or cream foundations. Spot-test them on your face until you find the shade that pleases you. If necessary, play with mixtures of powder foundations, as well. Then, move on to your eyeshadows.
Experiment with smoky purples, blues, greens, as well as lighter shades of the same colors (matte silver/light gray colors work to lighten colors, or for SUPER light, use white). Apply, wipe, and repeat, until you find THE color/combo that steals your heart. Also, practice with your eyeliner and mascara colors/styles to really make your eyes stand out (or go without, if you wish).
Now is also a good time to decide whether blush works well for you, or if a light cheek-pinching will suffice. Finally, play with your lipsticks and glosses.
Once you’ve gotten everything blended to your satisfaction, try your new look from foundation to finish, to make sure you’re 100% in love. If so, congratulations!
If not, wipe clean and try again!
This is about making YOU feel good about yourself, so don’t settle!
-
How to avoid the black eye and fairy looks when applying eyeshadow.
Don’t you hate it when you step back for a final makeup inspection and you see tiny specks of eyeshadow glistening on your cheekbone, or dark grayish or black smudges right beneath your eyes that look like bruises?
We do, too, and we think we can help!
These little sprinkle mishaps occur most often when using eyeshadow BRUSHES rather than the spongy eye makeup applicators.
However, if you are set on using your brushes (like us), or if happens with any makeup tool you choose, never fear!
Use any foundation and/or powder to your eye area ONLY first (from your brow line to beneath your eyes, AVOIDING your cheekbones at this point). Then, apply your eyeshadow as you normally would. Look in your mirror very closely for any unwanted eyeshadow dusting. DO NOT RUB the flecks away!
Rubbing only smears the eyeshadow and leaves streaks of color where you want it LEAST! Take a clean, fresh makeup BRUSH and lightly dust away the particles.
Or, if you have a hair dryer handy, turn it on LOW, and be sure it’s set to COOL, and allow the air to blow away unwanted sprinkles. Once ALL the loose makeup is gone, finish applying your foundation/powder as usual.
No more black eyes or fairy dust shine on your cheeks! (Plus, if some of the dust DID manage to leave a tiny smudge under your eyes, your foundation is able to COVER it, not be COVERED by it)!

